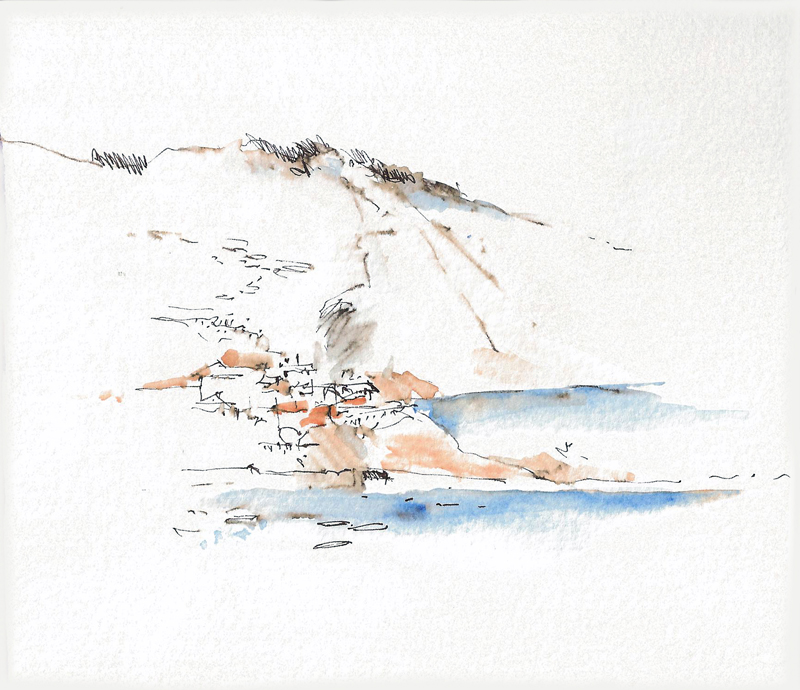
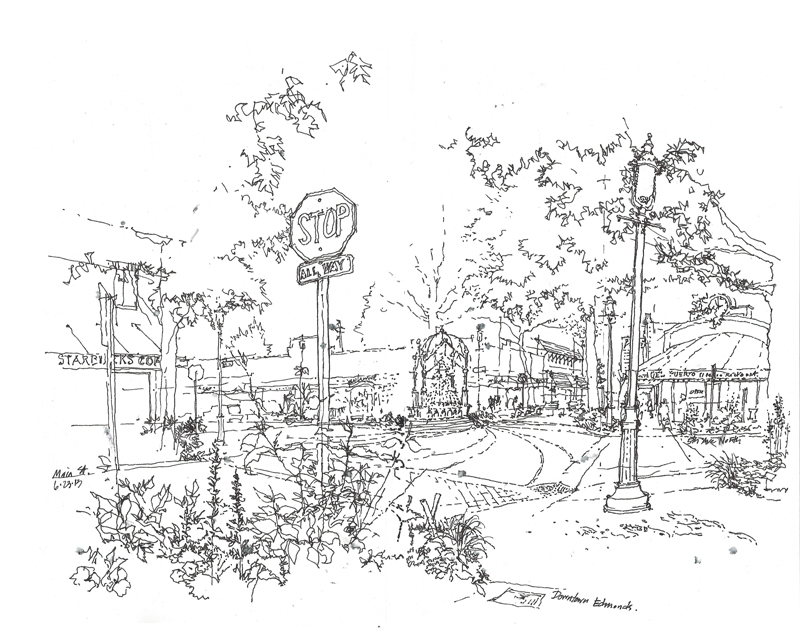
There was a large turnout yesterday for the monthly Seatttle UrbanSketchers meet-up in Edmonds, Washington. The weather was typical of an early Seattle summer day, overcast with a few sprinkles here and there, evidence of which you can see in my sketches. The first drawing I did was of the Edmonds town center, where Main Street meets 5th Avenue, featuring pavement stripes spiraling outward from a fountain and sculpture in the middle of the intersection. In the drawing, Main Street moves from left to right as it heads westward to the ferry dock, where Washington State ferries make their run across Puget Sound to the town of Kingston on the Olympic Peninsula.
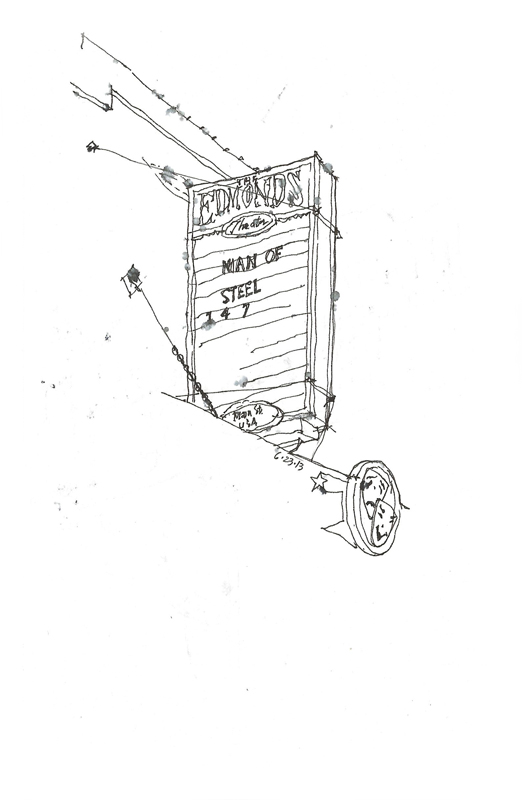
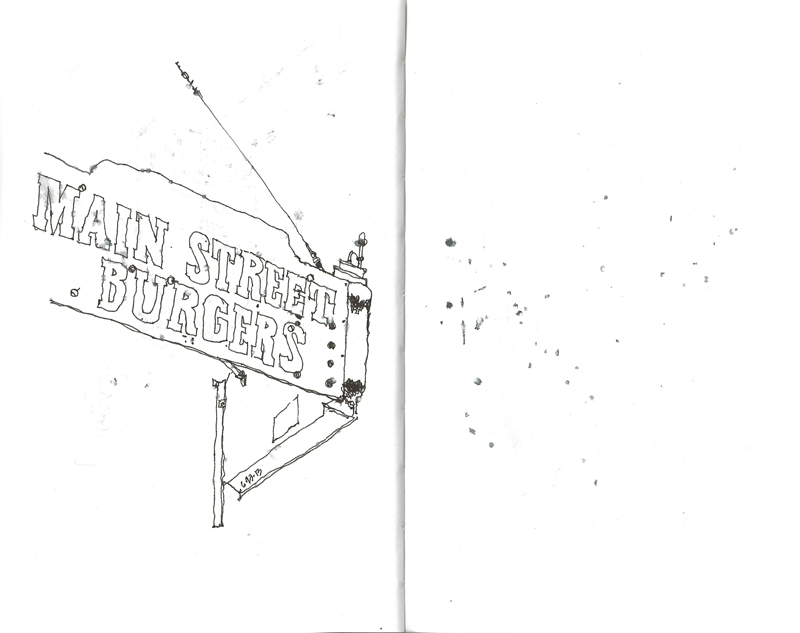
After this first contextual view, I spent what time I had left focusing on a couple of fragments in the downtown area.